

Pricking out seedlings is one of a series of blogs filled with tips on sowing and growing vegetables and flowers from seed.
In the other blogs we’ve looked at sowing seeds indoors and outside and at resolving some of the problems they may face as they grow. Plus ideas for recycling rather than buying all your seed sowing equipment from new. Links for these are at the end. However here we’ll look at pricking out seedlings that have been raised under cover – whether that’s in the greenhouse, cold frame or on your windowsill.
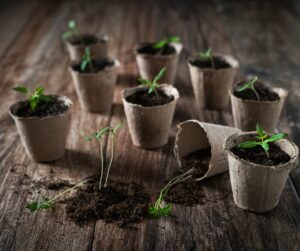
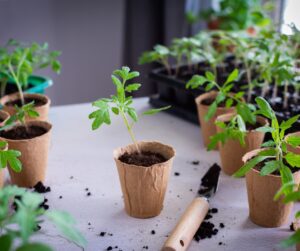
Firstly lets clear up any confusion of terms. For seeds grown undercover, they are pricked out when still quite small. They are re-planted into larger containers and some of the smaller, less well-developed seedlings may just be composted rather than grown on.
The term used for outdoor seedlings is thinning out. These are generally the hardy seeds and plants that were sown directly into the ground. It’s a very similar process but generally, thinning out waits until the seedlings are larger than they would be when you’re pricking out seedlings plants raised inside.
Garden Teacher Tip
With some seeds you can avoid the need for pricking out by choosing your seed sowing container carefully. For example, all the pea and bean family, ornamental or edible, can be sown directly into root trainer pots. These may be bought or be homemade. The seedlings are generally fine growing in these until they’re large enough to plant out in the ground.
If you’re doing this, do be sure to give them a compost with more sustenance than you would normally use for seeds, as otherwise they will outgrow the food reserves in the seed before they are ready for planting out.
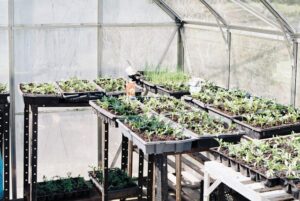
How do you know when seedlings are ready to be pricked out?
- Do you have strong seedlings that are outgrowing their allotted space in the seed tray or pot?
- Have they reached the stage of growth where there are two or more sets of true leaves above the ‘seed leaves’?
- If you very gently tug at the leaves, do they offer some resistance? This means that they have developed good roots
When you can answer yes to the above then the seeds need to be moved on. It is indeed time to prick out the seedlings and plant them in a compost or growing media which will feed them on their next phase of development.
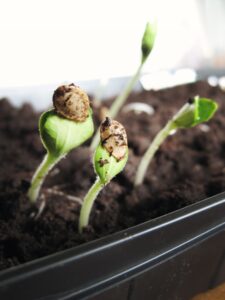
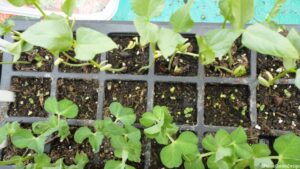
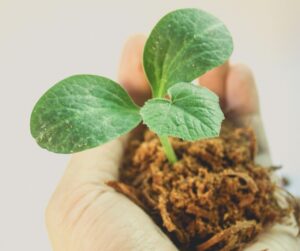
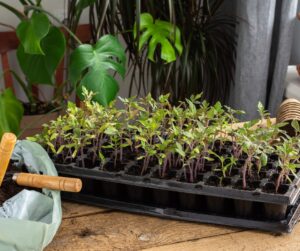
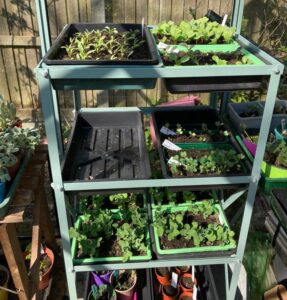
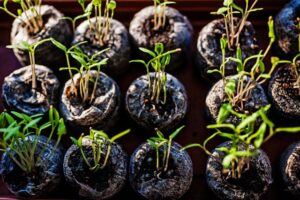
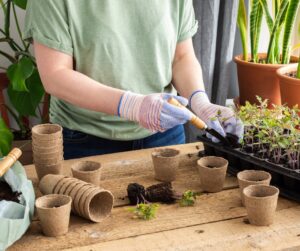
Pricking out seedlings is not a complicated process. In fact it can be a rather satisfying way of spending some time. Firstly, gather together: –
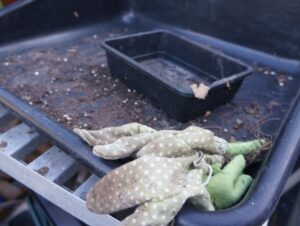
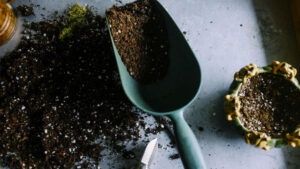
- your clean pots and compost
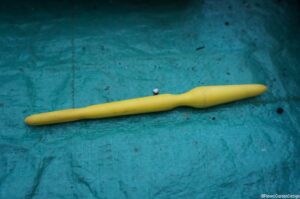
- dibber (for making holes in the compost) Or a pencil, but dibbers are easier to clean to prevent cross contamination between seedlings
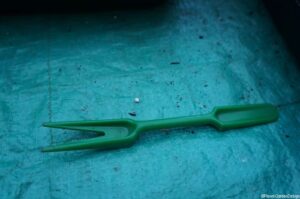
- ‘pricker out’, which is like a miniature fork
- a small watering can with a fine spray attachment
- and a potting tray, or other flat container, check link below for how to easily make your own recycled potting tray
This last item is where you can make a mess but still easily tidy up afterwards. There’s nothing more guaranteed to irritate than the realisation that you have to sweep the floor and the work bench or potting table just when you thought you could go for a cup of tea!
Having gathered everything together, you’re ready to start.
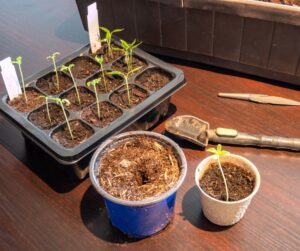
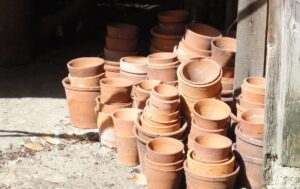
How to Prick out Seedlings
I’m calling them rules, but that’s because they’re part of the method. There are some variations but these are the essentials you need to know about. And remember, that any straggly seedlings or those that get broken during the pricking out process can be composted.
Rule number one:
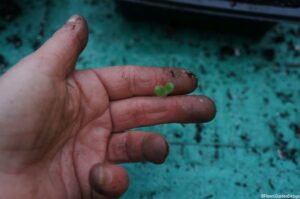
Lift the seedling by the leaves not the stem. The stem is easily damaged and it is the only one the seedling has. It can (and will) grow more leaves. Slightly pinching on the seed leaves is fine as the seedling will soon lose these anyway. I tend to hold the seedling lightly between two fingers, palm upwards, so that the leaves rest on my fingers and support the weight of the seedling, whilst the stem and roots hang free.
Rule number two:
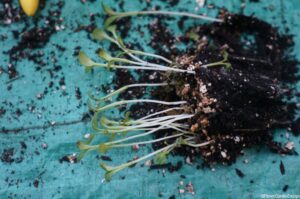
Carefully tease roots apart, never yank. The roots are the means by which the seedlings take up water and nutrients that they need to grow and if they’re damaged they can’t do this. However careful you are, there will be some damage, but the aim is to minimise it.
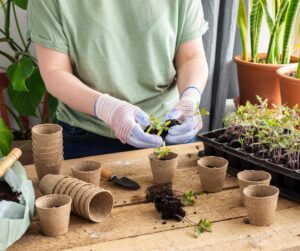
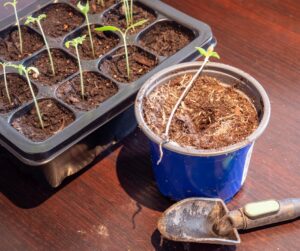
Rule number three:
Use your dibber to make a hole in the new pot larger than you think you will need for the seedling’s roots: again, this is to prevent damage. You can also use the dibber to lightly firm the compost around the newly transplanted seedling. Or you can just use your fingers. When I’m putting more than one transplanted seedling into the same pot, I tend to firm the soil just enough to hold each one in place as I’m pricking out seedlings, then firm the whole surface once I’ve transplanted all of them.
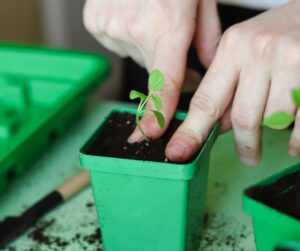
Rule number four:
The seedlings don’t care if you listen to Vivaldi or Metallica or a gardening podcast. It’s your choice, so indulge yourself: gardening is about pleasure as well as chores. Although I must admit I find pricking out seedlings one of those tasks which can be quietly reflective if you’re on your own or an opportunity for pleasant conversation when you have a gardener standing next to you also armed with a dibber.
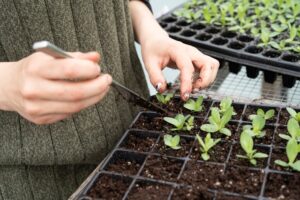
Rule number five:
When you’ve pricked out and transplanted the seedlings, give them a drink, keep them warm and a bit extra ‘tlc’ as they’ll be in shock from having been moved. They’ll be fine in a day or so, positively romping away trying to outgrow each other.
And all too soon you’ll need to think about hardening off the seedlings and planting them outside. But sit down with a cup of coffee or glass of wine first, and enjoy the spring sunshine. Or the pattering of rain on the roof…
Garden Teacher Tip
There is a ‘How to prick out seedlings’ video on Plews YouTube channel showing you techniques for pricking out seedlings which you may also find helpful. Yes it was filmed some years ago but the techniques haven’t changed for hundreds of years! (Although I haven’t been around quite as long as that 😉)
And finally …
If you’d like some personal help with pricking out seedlings, and other gardening tasks, we offer a mix of practical sessions and theory in our bespoke Gardening Lessons and Courses. And here’s a pdf download to answer some of your questions – Plews Gardening Lessons Information
But if you’d prefer someone to just re-think your garden, do get in touch to ask about our design and consultancy services.
For further gardening advice and inspiration, ideas for edible gardens, cottage gardens and more, check out Plews Potting Shed blogs, including the selection below and our monthly Tipsheet You could come and find us on Instagram – @plewsgd Pinterest and Facebook too.
And on that note, you can have a peek at my new garden in the (new) Instagram account @spitfiresandslowworms and for those of you who prefer Facebook – Spitfires and Slow Worms
Related Gardening articles you may enjoy from our Award Winning Plews Potting Shed Blog
Seeds and Seedling Tips
Successional Sowing, Hardening Off and other Grow Your Own Terms
Sowing Seeds Indoors – what you need and what you don’t
What to Grow from Seed – Ideas
10 Hardy Annual Flowers to Grow from Seed
6 Unusual Vegetables for You to Grow
Why Do We Grow Vegetables in Rows?
Plews eBooks and Gardening Printables
Note regarding photographs and videos
Those in this blog were taken by various photographers including myself, Marie Shallcross, Plews team; also from Canva: pundapanda, Ekaterina Markelova, Animaflora; Unsplash: Annie Spratt, Jen Theodore, Tom jur; Pexels: iconO com
Copyright remains with the photographer. NB Most are not free images and should not be downloaded without permission.
If the photographer’s details are not in the alt tags (although they should be) and you can’t find them yourself, do please contact Plews to enquire about usage.


