Have you ever bought more plants than you meant to at the nursery, garden centre or when visiting a plant fair? You squeeze them all into the car, unload back home and then wonder where on earth they’re all going to go as the borders look fuller than you remembered?
Here follows a true story, then a helpful tip or twelve for when you find yourself in that situation! Although set in early autumn, most of the tips are valid for spring and summer too.
Okay, hands up who’s been buying lots of end of season bargains and come back with a bootful? You too, huh?!
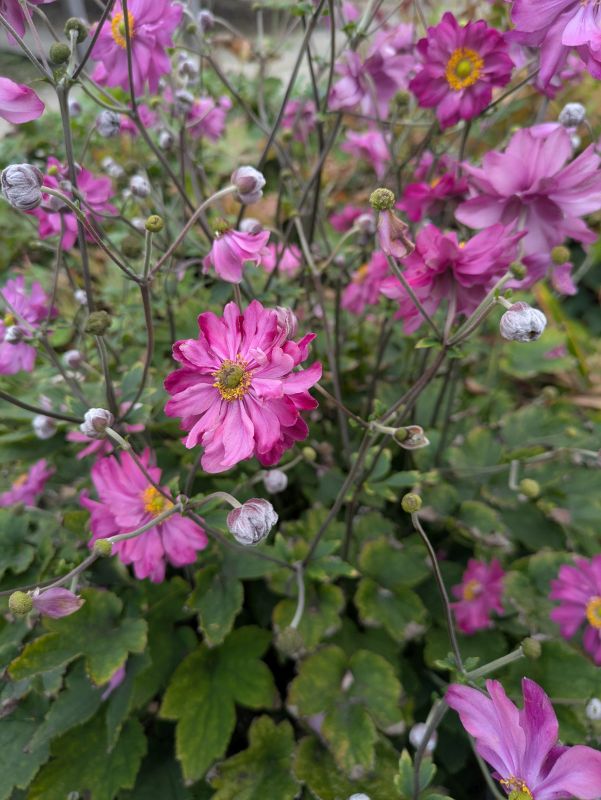
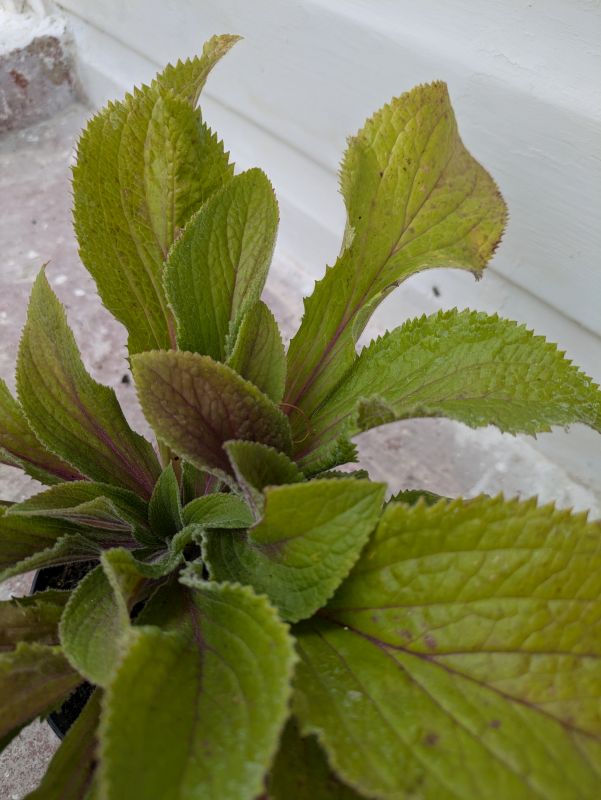
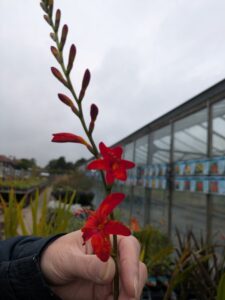
A friend and I discovered a new-to-us nursery not too far away and spent a very happy morning deciding on the relative merits of various Agastache, Japanese anemone, Crocosmia, Pulmonaria and more before coming away with a loaded car and the nursery marked as a favourite on Google maps.
Obviously, there’s “always room for just one more plant” in the garden. But when you get home and realise that the best places you’d thought of for many of the recent acquisitions is where there are still Dahlias flowering or you haven’t quite finished improving the soil in a new bed. Or there is room, but first you have to dig up a couple of large plants you planned to move elsewhere this autumn but the border they’re going to isn’t ready…
You can’t exactly tell yourself off as you did take a list with you and bought some of those. It was just that they had some other unusual plants, and if you hadn’t bought them who knows when you might next have the opportunity?
What do you do? Read on for tips I’ve used over the years, in my own and students’ gardens.
Tips for when you’ve bought more plants than you meant
Firstly, make a list of what you’ve bought (and from where). Aswell as being a plant record this enables you to double check the plants requirements – sun, sheltered spot, etc. Then group the pots as follows.
NB as you complete each section I strongly recommend you either make a note as to which plants you’ve put in which border. Or you can draw a rough planting plan (or both). This record means that when you come to move certain plants, or check what’s survived over winter, you know what you’re looking for!

Almost tender perennials
Those plants which are borderline hardy can go in one group.
You know your own garden, and if its sheltered then you may feel the plants will be fine in the ground if they’re reasonably mature.
But if you’re not sure and its September then it’s a bit late to guarantee cuttings will root. This would have been a safeguard if the parent plant didn’t survive.
What I do in these circumstances is to treat them as tender perennials for the first year. Transplant them into larger pots and keep under cover when the temperature starts to drop. Plant out in spring and take cuttings before next autumn.
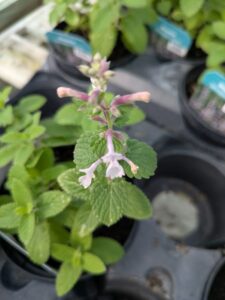
Nepeta x faassenii ‘Whispurr pink’ is hardy in coastal and areas of the UK, so it comes into this category, especially as its a small plant
And for the hardy perennials
Group these together in relation to where in the garden you want them to finally be planted. For example, patio border (full sun), righthand border beyond apple tree (partial shade).
Move the groups next to their intended destination. Take a critical look at the space available, or that could easily be made available, perhaps by digging up annuals that are nearly over or potting up tender perennials such as lemon verbena that were going in a pot for the winter anyway. Place the plants that will fit on the border in their pots, if room.
You’ll very likely have left over plants that won’t fit yet. That’s fine, there is a plan, just leave them near the right spot for now, but separate form those you can plant.
Once you’ve done this for all your new plants, it may be that you can fit them in as you’d thought back at the nursery. Great! Make the space, and get planting.

some of the plant purchases sitting in the summerhouse porch in my garden at Spitfires and Slow Worms
But what if they won’t all fit?
When you’ve bought more plants than you meant to, this shouldn’t come as a surprise. But just when you think you’ve planted them all you turn around and there are half a dozen looking coyly at you.
Firstly, plant the ones that do fit into the borders, so as not to get confused after the next stage. You now deal with each of the left over groups. Start with the plants that need a sunny spot and check other borders that meet that criteria. This is about temporary planting so don’t worry too much about the planting design. When you find a space or possible space, place the pot next to the border. (Not on the border, you may forget about it!)
Once you’ve found spaces for as many more plants as you can, you plant these. This time, you plant them in the border but still in their pots. This makes it much easier and less stressful for the plant when you lift it in the spring to plant in a permanent location.
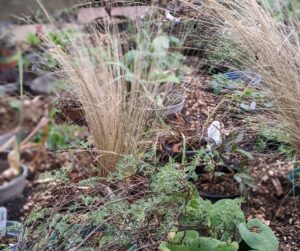
Do you still have some plants left in their pots? Don’t despair, I have a plan for those too!
Question – do you have space in your veggie plot where you were going to sow a green manure and forgot, so instead you’ll be covering it with membrane or cardboard for the winter?
You could put the remaining plants in there, in their pots. It may not be the ideal location for them, but if they’re hardy perennials the leafy top growth will be die back overwinter so its less of an issue. What you will be doing is keeping them alive ready to be planted out in their designated space come spring. And the same is true for deciduous shrubs. Even evergreens tend to slow down their growth at this time of year, so it’s a solution for the majority of plants.
That’s great you say, but I don’t have any room in the veggie patch for these last few plants – what do I do about these? To which my response is this –
Do you have dahlias or other tender perennials and annuals in the borders which you’d be digging up in late autumn? Yes? Then try this option…
Leave the plants in their pots (unless theyre seriously pot bound). If you feel the temperature drops too much, wrap fleece or hessian around the pot and place it in a slightly larger pot for insulation.
When you dig up the dahlias etc pop the new plant, still in its pot, into the hole and back fill. In the spring dig up and plant where you want it to be.


Container gardens
I havent forgotten about you! The difference is likely to be that you don’t have anywhere to temporarily plant your purchases until annuals and tender perennials are finished. Try these tips –
1] Keep the plants in the pots you bought them in, but trim back surplus growth to reduce watering needs (although keep flowers on to enjoy!) Group pots together on large gravel trays lined with capillary matting, which you’ll keep wet. This way the plants will take up the water they need. Remember to leave a bit of space around each one for light and air. When its time to remove the annuals etc, replace with these purchases.
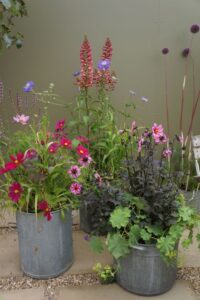
2] Do you have spare decorative pots? Why not make a grouping of 3 -5 of your new plants in one or more of these? They’ll look pretty straight away and will be better protected against frost. You could plant them as a permanent group with roots directly into the soil, or sink the pots until spring.
3] Out of pots? Well then you’ll just have to go and buy some more. Remember to wear blinkers unless you’re in the pot section though, I mean, you can’t possibly fit in any more plants, can you…?
And finally
Hopefully I’ve reassured you than even experts can get carried away and discover they’ve bought more plants than were on their list! And whether you find all or just some of these tips relevant for your own plant purchases problem, I hope they’ve been helpful.
For further gardening advice and inspiration, check out Plews Potting Shed blogs, including those below. And there’s a link to free printables to help with your plant lists.You could also come and find us on Instagram Pinterest and Facebook.
But most of all, enjoy your garden and if Plews can help you with anything, please do get in touch. For example –
Our Garden Consultancy & Advice Visits may help with some of your issues. Or does your planting need a rethink? Do you have a birthday coming up? Plews bespoke Gardening Lessons, where your classroom is actually your own garden make a wonderful and practical gift. You could learn how to grow an orchard of citrus fruits in your conservatory! We help you with both gardening basics and more ‘expert tasks’, depending on what you need. Have a read through this pdf download for info.
Feeling nosey? You can have a peek at the progress of my garden renovation, Spitfires and Slow Worms, on Instagram and Facebook Although I can’t promise that all my new acquisitions will be on there yet!
You’ll get to see it in person if you come to the Plews Gardening Workshops Current ones on Eventbrite for you to book into. Follow for updates on topics and dates on Plews website, Instagram, Eventbrite, Facebook
Plus get your local garden club, allotment, WI, U3A or other group to ask me along to give a talk (and bring plants 😉)
Related Gardening Blogs from the Award Winning Plews Potting Shed
Planting Ideas and Inspiration
Elements of a Formal Garden: A Guide to Timeless Design
Tips for Planting a Coastal Garden
Autumn Garden Visits for Design Inspiration
Autumn Borders – Colourful Planting Ideas
Colour Themed Planting Design Ideas
Five Yellow Flowers for Late Summer and Early Autumn Gardens
13 Black Flowers Planting Design Ideas
Would You Like a White Garden or a White Flower Border?
Turquoise Flowers – Planting Design Ideas
Plants and Planting Tips
10 Tips for Buying Garden Plants
Tips for Gardening on Chalk Soil
Tips for Gardening on Clay Soil
Plants and Planting Tips
10 Tips for Buying Garden Plants
Tips for Gardening on Chalk Soil
Tips for Gardening on Clay Soil
Free Gardening Printables for you to download